




Choosing a crimp terminal looks like a one-line decision: match the wire, pick a ring, crimp it. In practice, most field failures trace back to a mismatch somewhere in that chain — a barrel too large for the conductor, a stud hole that lets the terminal rock, or insulation that cannot take the ambient temperature.
This guide covers the three decisions that actually matter, and the checks worth doing before you place an order.
Start with the conductor, not the terminal
The terminal follows the wire. Measure the conductor cross-section in mm² first, then the AWG equivalent, and only then look at the terminal range.
| Wire range | Colour code | Typical use |
|---|---|---|
| 0.5–1.5 mm² (22–16 AWG) | Red | Control wiring, sensors, signals |
| 1.5–2.5 mm² (16–14 AWG) | Blue | Panel wiring, lighting circuits |
| 2.5–4 mm² (14–12 AWG) | Black | Power distribution, small motors |
| 4–6 mm² (12–10 AWG) | Yellow | Feeders, battery and earth links |
Two traps are common here.
The first is measuring the insulation instead of the conductor. A 2.5 mm² cable with thick XLPE insulation looks much larger than a 2.5 mm² PVC cable, but the terminal only cares about copper.
The second is mixing stranding classes. A fine-strand flexible cable and a coarse-strand building wire of the same nominal cross-section behave differently in a crimp. Fine strand compresses more, so it needs a slightly larger barrel or a ferrule; coarse strand fills the barrel more predictably.
If the conductor is fine-strand and the terminal block has a screw clamp, a wire ferrule is usually the better answer than a crimp terminal at all.
Match the connection, not the catalogue page
Once the wire size is fixed, the shape of the terminal is decided by what it connects to, and by how often that connection is opened.
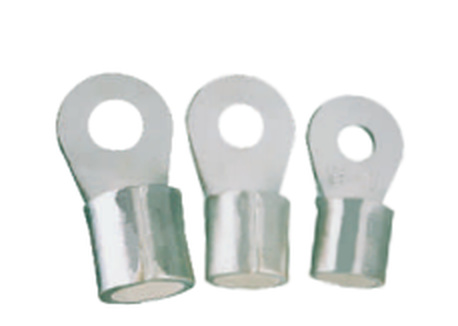
Ring terminals completely encircle the stud, so the joint cannot come off without removing the fastener. They are the default for anything that vibrates: machine frames, vehicle harnesses, earth studs, busbars.
Fork terminals slide under a loosened screw. They are faster to fit and to replace, which is why they dominate control panels and relay bases where a circuit may be swapped during commissioning.
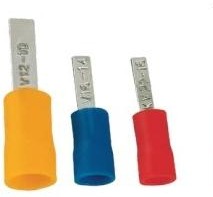
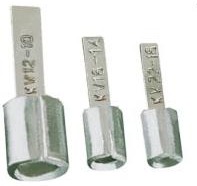
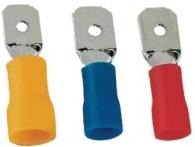
Blade, pin and bullet terminals exist for tab and receptacle connections, and for inline joins that must be separable.
A simple rule that holds up in most builds: if the joint will never be opened in service, use a ring; if it will be opened during maintenance, use a fork; if it must be disconnected without tools, use a disconnect type.
Stud sizing deserves its own check. Pick the smallest hole that still clears the screw:
| Stud | Hole diameter |
|---|---|
| #4 | 3.2 mm |
| #6 | 3.7–4.3 mm |
| #8 | 4.2–5.3 mm |
| #10 | 5.2–6.4 mm |
| 1/4" | 6.2–6.9 mm |
An oversized hole looks harmless on the bench and becomes a problem under torque: the terminal rotates, contact area drops, and the joint heats up.
Decide on insulation last
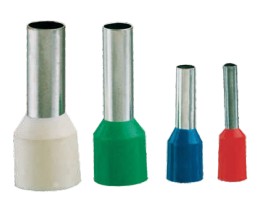
Insulated terminals cover the crimped barrel with a PVC or nylon sleeve. The sleeve is not decoration — it does two jobs: it prevents accidental contact with live metal, and it supports the wire at the barrel exit so vibration does not fatigue the strands.
Choose insulated when:
- the terminal will be accessible to touch
- the joint sits in a vibrating assembly
- the panel will be inspected visually and colour coding helps
- there is no separate taping or sleeving step in the line
Choose non-insulated when:
- the joint is inside a housing or terminal block
- the assembly is taped, potted or covered by a sheath anyway (a push-on sheath is often cheaper than an insulated terminal)
- ambient temperature exceeds what PVC can take
On temperature: standard PVC insulated terminals are rated for continuous use around 105 °C. Heat shrink insulated types go to roughly 125 °C. Above that, the insulation has to come off the terminal and go onto the cable as separate sleeving.
The crimp itself
A correct terminal crimped with the wrong tool still fails. Three checks catch most problems:
- Pull test. A sample from each shift should hold the tensile value for its size. If the wire pulls out with the barrel intact, the die was too large; if strands break at the barrel mouth, the die was too small.
- Visual check. The barrel should show a firm, even compression with no cracked seam and no die marks on the palm. Strands should not be visible outside the barrel at the wire entry.
- Insulation support. On insulated terminals, the rear crimp must bite the sleeve. If the sleeve is loose, the wire will flex at the barrel exit and break after a few thousand cycles.
A short pre-order checklist
- Conductor size measured in mm², not estimated from the cable OD
- Stud or tab size confirmed against the mating hardware
- Insulation type chosen for the ambient temperature, not just for looks
- Terminal family matched to how often the joint is opened
- Crimping tool and die confirmed against the terminal size
Get those five right and the terminal becomes the least interesting part of the build — which is exactly what you want.